

Deutsch: Ich finde ja immer, wenn man so den Look eines Zimmers etwas ändern will, sind Lampen einfach der wichtigste und einfachste Weg. Wenn man die Lampe ändert, dann ist gleich wirklich alles anders... Ich liebe Lampenshopping, ich könnte mich da echt totkaufen.... aber Lampen sind ja auch immer nicht ganz billig... Und so habe ich jetzt, als der etwas modernere, buntere Look bei uns einzog beschlossen, dass ich Lampen selber bauen will... Und kann! Mein lieber Schatz hat mir dabei geholfen, denn es ist so, wenn man einmal die Basis-Dinge verstanden hat, wie so Kabel und Technik und der ganze Kram funktioniert... dann ist es erstaunlich leicht.... (und deswegen ist diese Lampe auch nicht unsere Letzte...) Wir haben die Einfachheit des Ganzen total genossen! Ein tolles nettes kleines Projektchen mit Rieseneffekt!
English: I always get the feeling, that a lamp changes the look of the whole
room, so when I think about getting a new look for my home, lamps are
the first thing I tend to think about. I love to surf and find lamps...
but the ones I really really like are expensive... So this time.. in my
whole pink and getting more modern phase I thought - why not build lamps
myself. It cannot be that difficult. And I was right - it isnt. In
fact, if you have understood the technique behind it... you can pretty
much build a lamp in any shape etc. My husband helped me do it, and we
both loved the simplicity of it.

Material:
What you need:
Textikabel -ich habe meines von hier (gibts in allen Farben!!!)
textile cable, I got mine here, 3-5 metres, depens on how much cable you want to get the look... (and you can get pretty much any color:D)
einen Zwischenschalter, damit man nicht immer ein und ausstecken muss (hier) and if you want... i like to switch the light on/off on a switch - a switch like that one
Danke Kabelscheune für die freundliche Unterstützung:D
3 große Holzkugeln (große!!!)- 3 wooden balls (big ones!)
Außerdem einen Schraubenzieher, Schere und etwas Tape. And then you need a screwdriver, scissors and some tape.
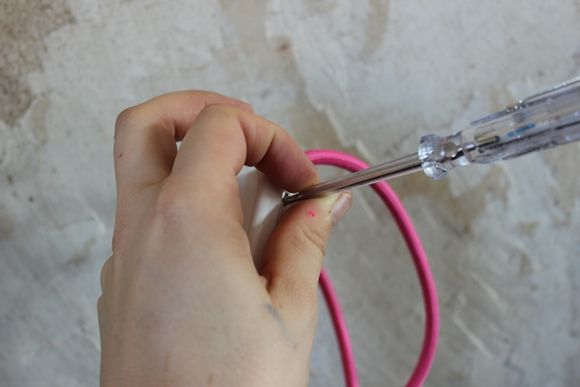
Den Zwischenschalter öffnen und verkabeln (siehe Video)
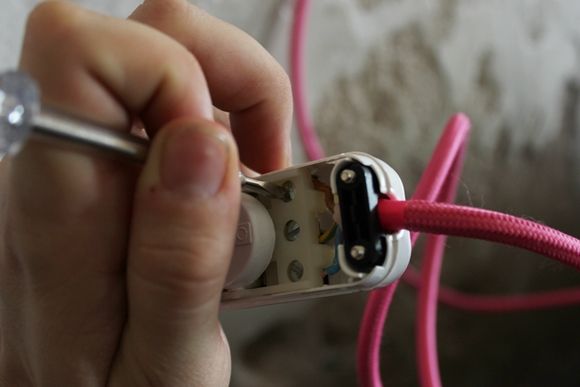
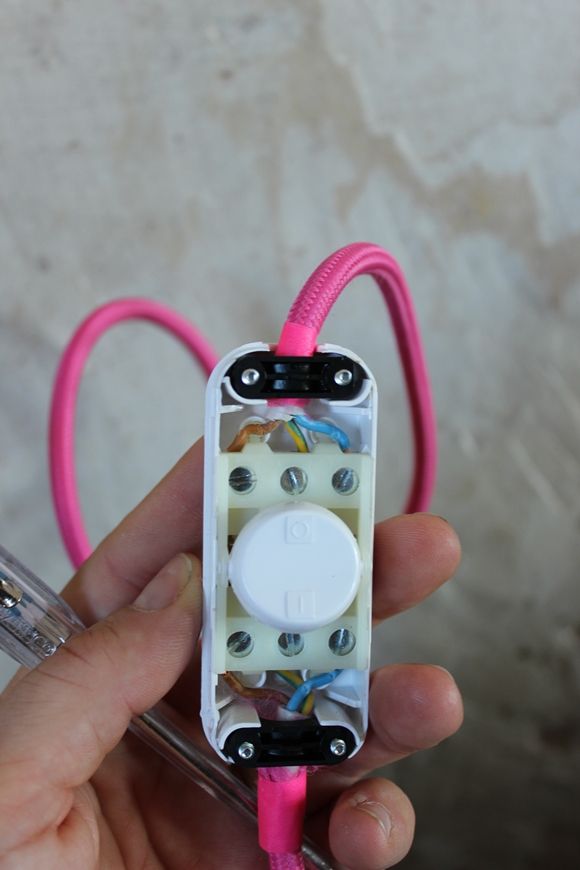
So muss das dann aussehen:D
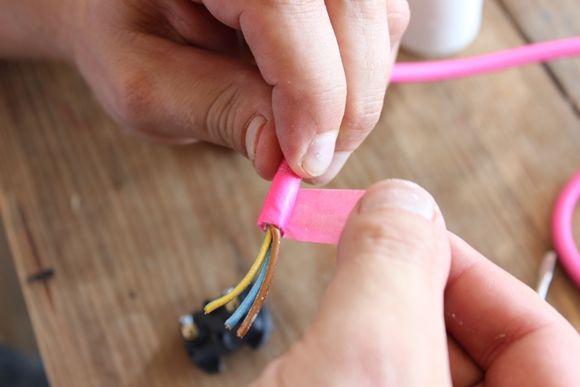
Das Tape benutzen, um das Ende abzukleben - unbedingt machen, sonst franst das Kabel aus.
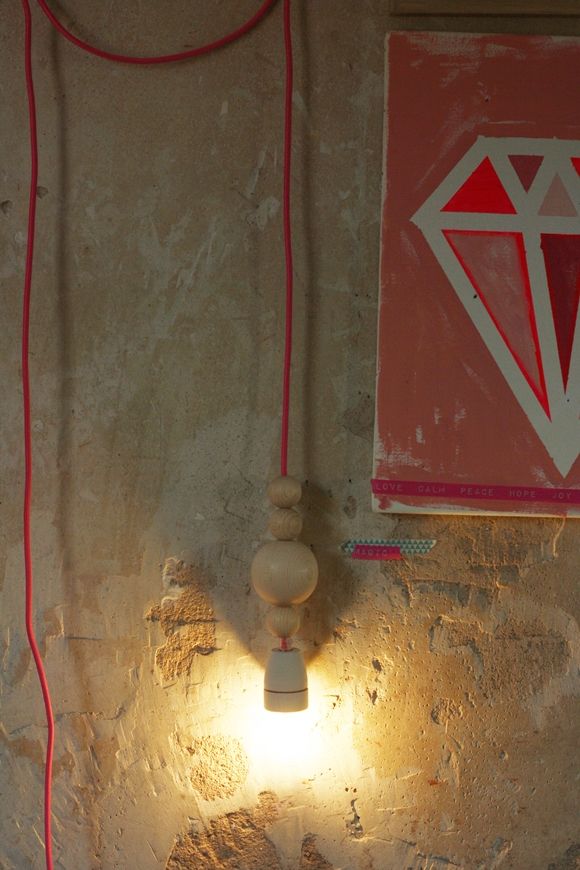
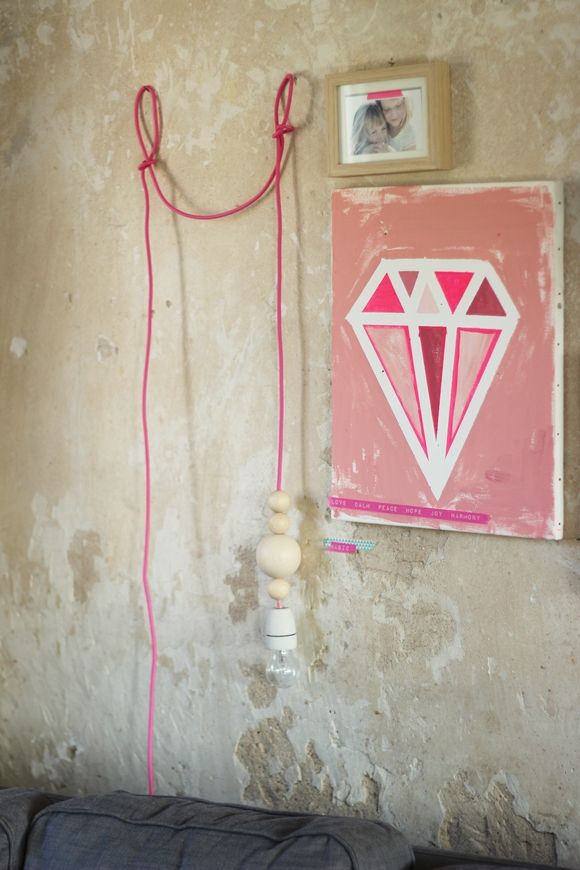
Ich finde, sie passt einfach genau zu meiner hübschen Wandkunst , oder?
I like how it fits to my diamand wall art and my whole wall...
Wir haben ein kleines Video gedreht, über all die technischen Details... Da könnt ihr einiges lernen:D Mein Mann ist so begabt:D
Schaut hier

und wenn sie an ist, sieht sie so aus, süß, oder?
and thats how it looks, when it is turned on... isnt it cute?


I really do like your lamp! And the contrast between wall and lamp is just cool. more than cool! Rebecca
AntwortenLöschenWow, witzige Lampe. Ich habe schon diese Designkabel gesehen, waren mir immer zu teuer! Vielleicht muss ich bauen? Anna
AntwortenLöschenDie Lampe ist ja super cool!
AntwortenLöschenLiebe Grüße
Dörthe